Mountain Photography Powerful Tips
Mountain Photography Powerful Tips: Key elements you need to know for mountain photography. All the normal rules of landscape photography and composition apply, but there are unique challenges we are presented with when in the mountains.In this article i show you some key elements you need to be aware of when going out in the mountains and photographing. This has been a long journey for me so far and I’m continually finding ways to improve my own process. I have compiled 6 tips you may find useful for your next trip. Any of those tips are more general than specific.
Mountain photography is a quite complex topic and experience is key. It’s simply not possible to collect everything into one or several blog posts. If you are interested in going further into detail please don’t hesitate to contact us. We offer skype interviews and on-location workshops in and around the Alps (Tyrol, Dolomites, southern Germany and travels). Contact us.
Research and Planning
Beeing good and independent in planning a mountain trip is an essential part of any mountain sport and especially for mountain photography. This tip is the most underestimated one for mountain photography. If you are good in planning a mountain trip in general (this applies for hiking, mountainbiking, alpine camping and ski touring likewise), it helps planning your photos and your photographic quality and output will rise dramatically.
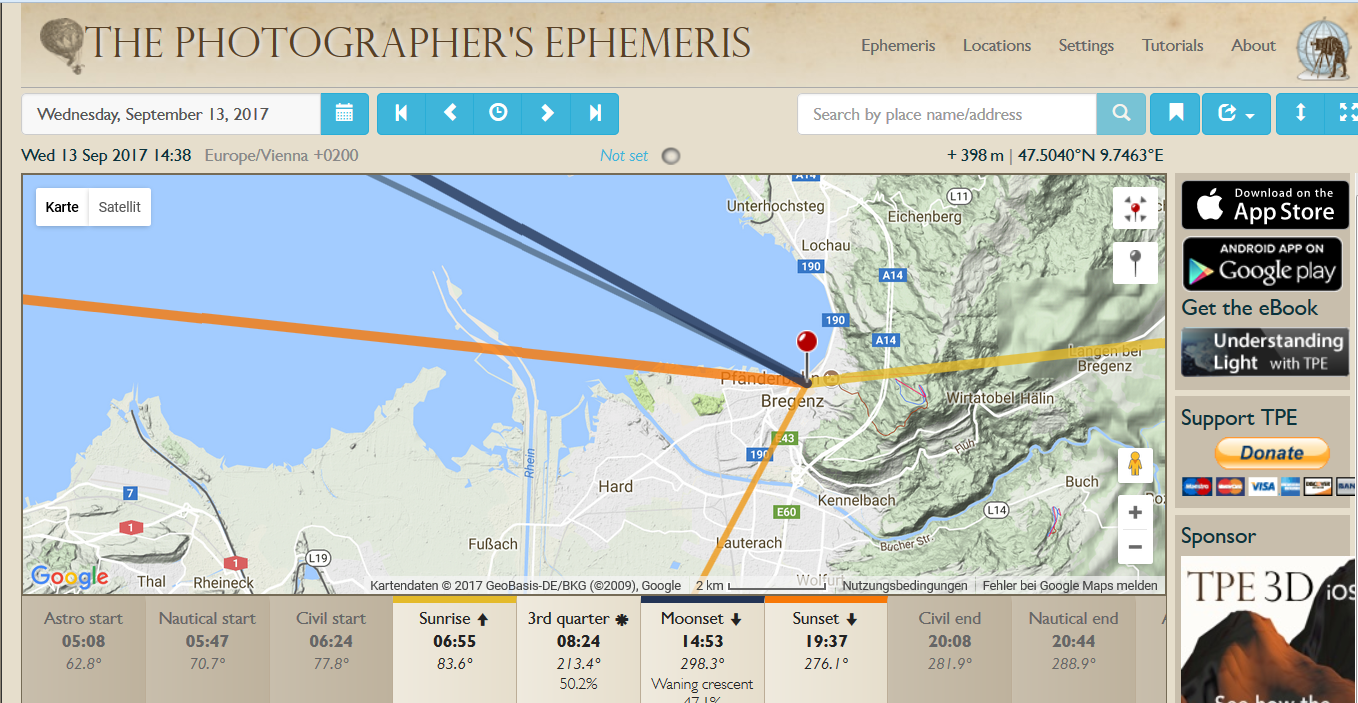
Screenshot: Photograhper’s Ephemeris is a useful tool for mountain photography before your mountain trip. It shows sunrise and sunset times and directions.
You can divide the planning process into before the tour (which is more research and rough planning) and on-tour planning (which is always necessary when beeing out in nature and esepcially in the mountains).
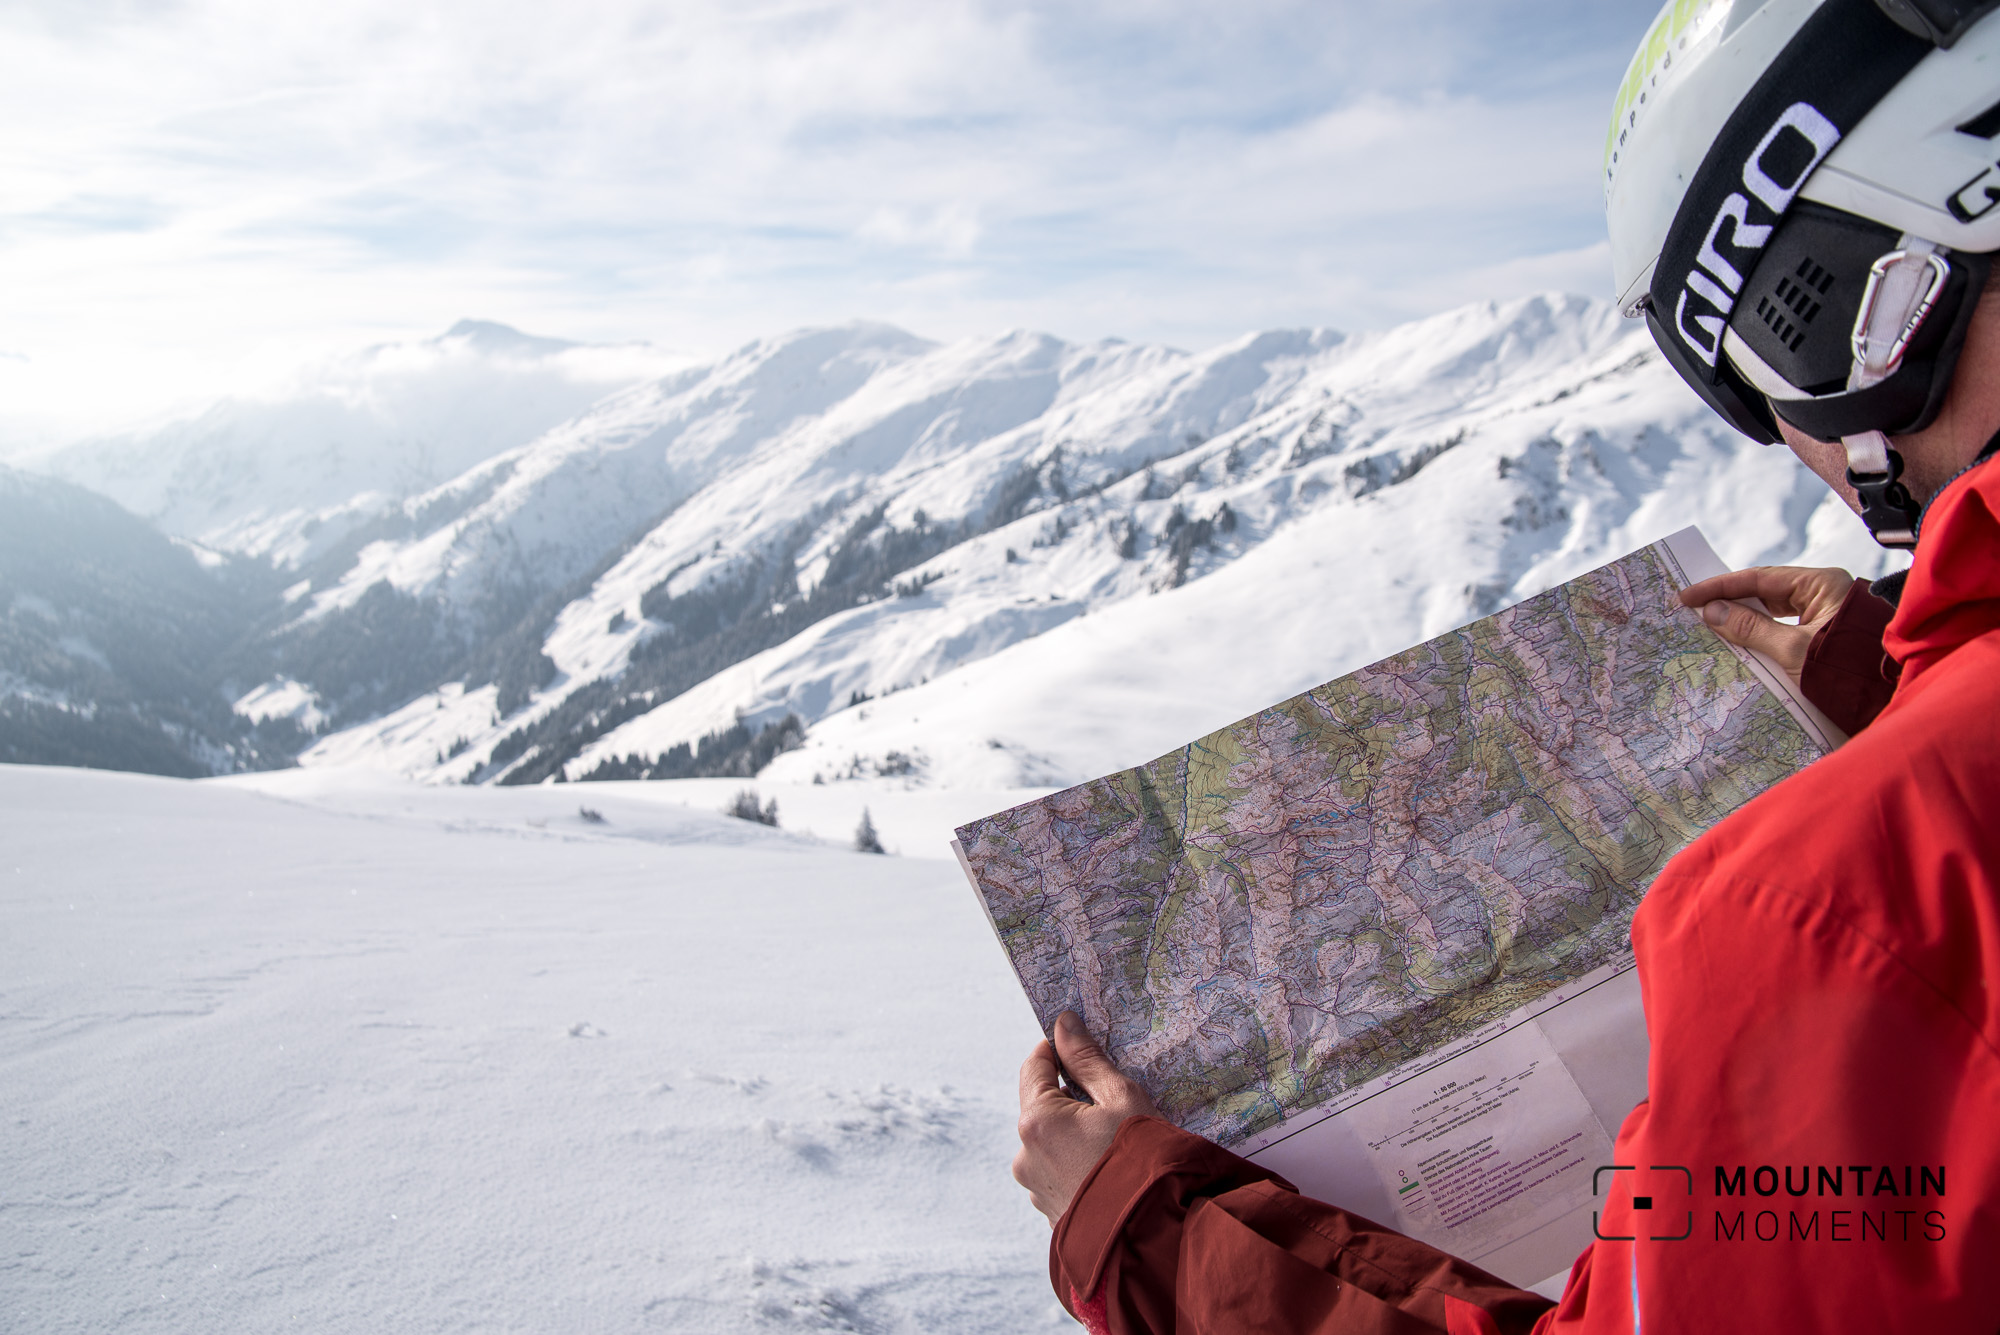
On-tour planning with topographic maps is an essential skill you should learn.
A good tool for „before the tour“ planning your shooting times is the Photographers Ephemeris. Another tool are free online topographic maps – if you can read them. On-tour you have to adapt to the local conditions. Sun, rain, snow, dangers have to be considered.
But the most important tool is… experience. You have to know your abilities, what you can do and what you can’t do. You have to know about weather conditions, road and path conditions. You have to know the laws, what’s allowed and not (and maybe whats still „ok to do“). And especially in the mountains it’s important to know where your limits are. Sure, there is excitment in risky adventures, but knowing the limits and adapting to nature is the key factor number one to come home safely and to be able to do what you love for as long as you want.
Sunrise and Sunset
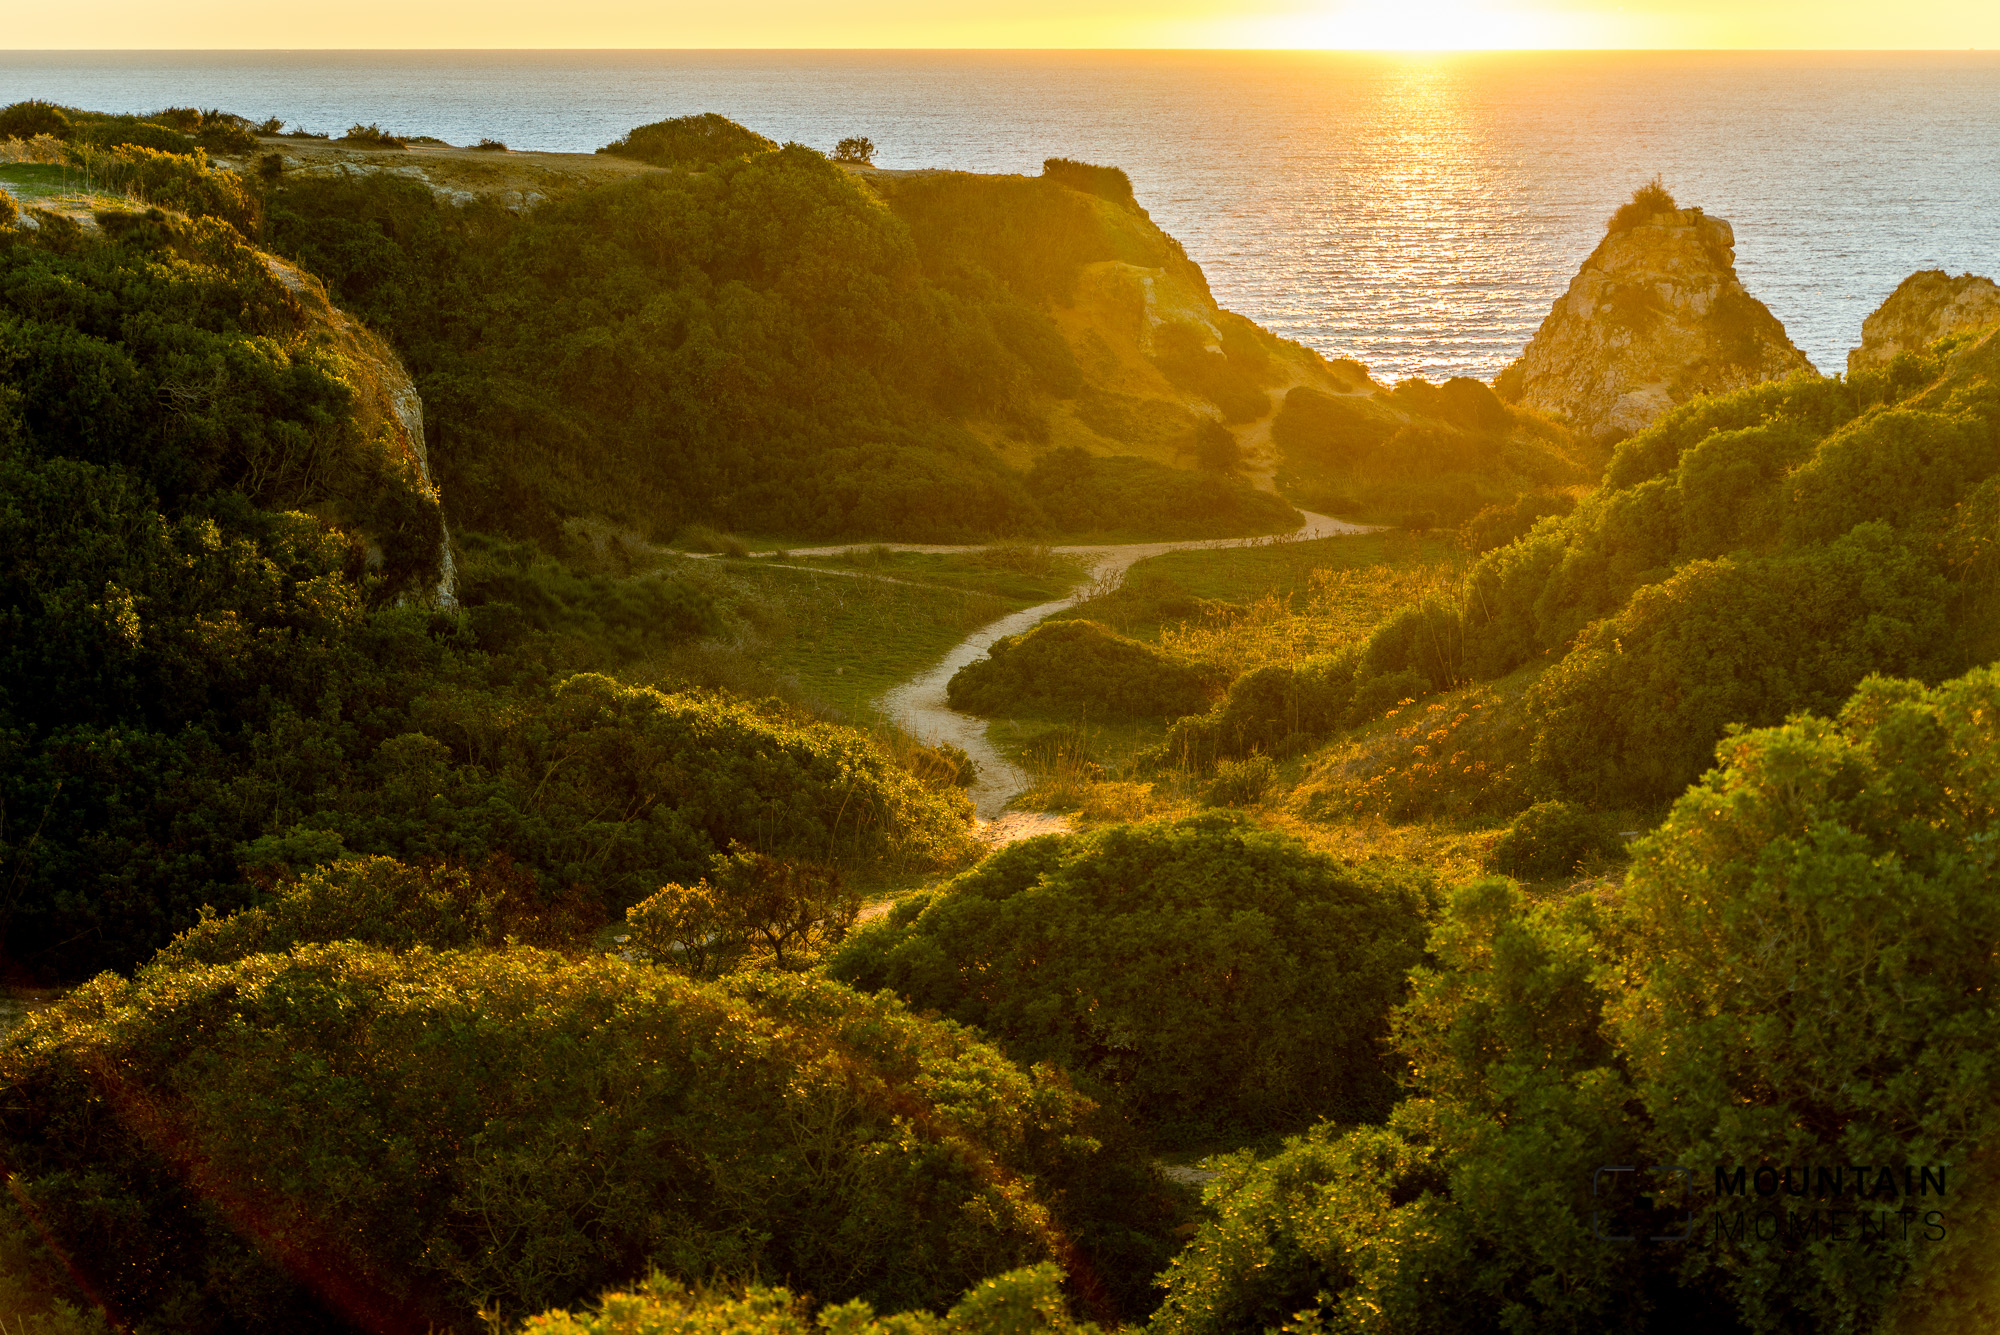
For landscape photography and mountain photography: The best times for shooting are before and after sunset and sunrise. Know the time, when magic happens.
Sunrise and sunset are the most interesting times for outdoor and landscape photography. This general rule also applies for mountain photography. But mountains are steep and tall., at times really steep and tall and therefore the time for the sunrise and sunset can change dramatically depending on where exactly you are. If you can read a topographic map, you are well prepared to not have a too big surprise. As a rule of thumb you should be on location 1 hour before sunrise and senset for landscape photography. To be on the safe side i suggest to spread this time and double it. And also, do not forget the darker times, the so called „blue hour“ and maybe night photography are prime time in the mountains for getting outstanding pictures
Gear – take what you need and be ready
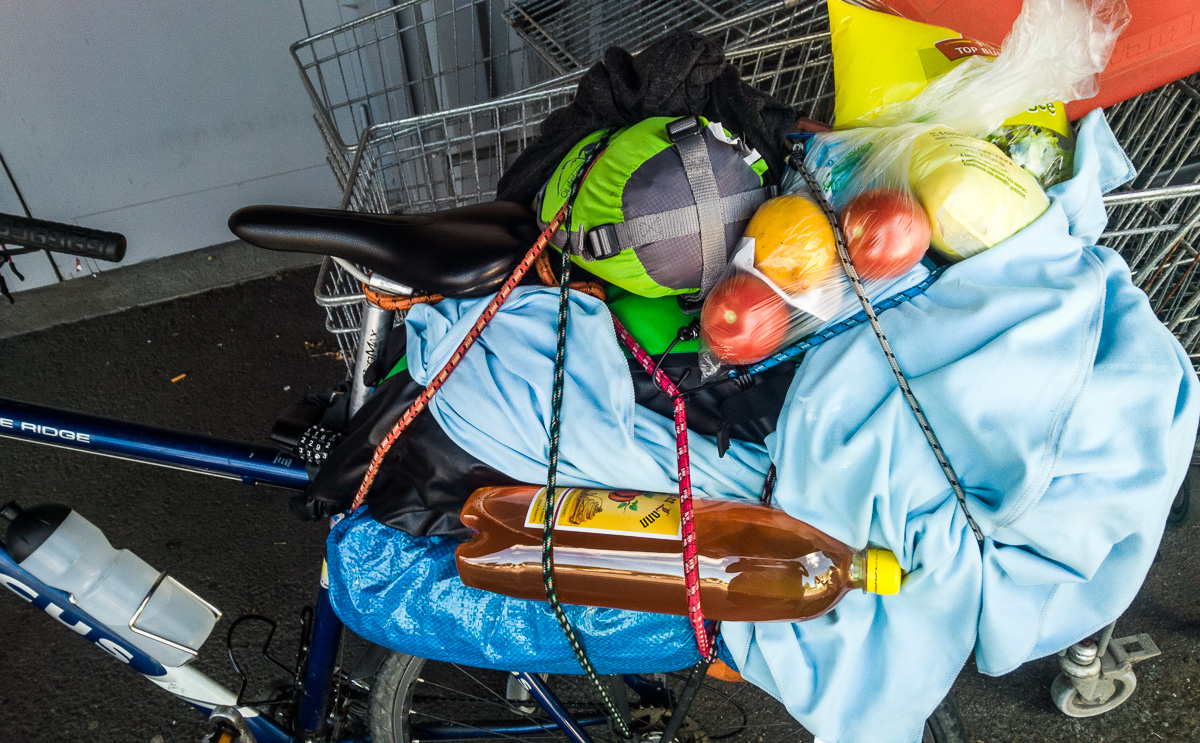
Yes, being on the road, sometimes things can look awkward. Bonus points for professional expander usage. (smartphone picture)
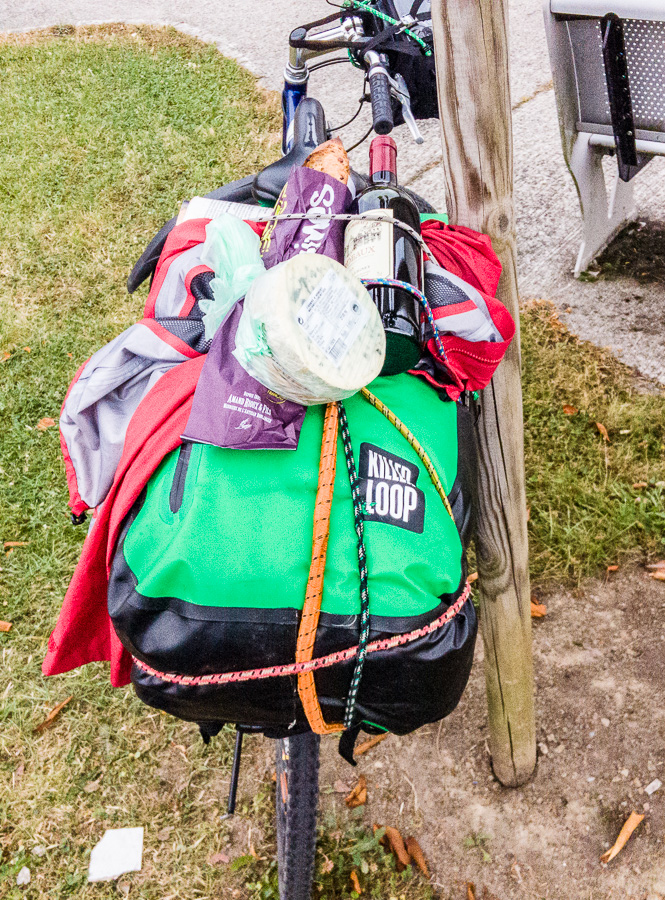
Bonus tipp: If you are on a biking trip in France: local fresh baguette, chees and wine are must-haves! ;). (smartphone picture)
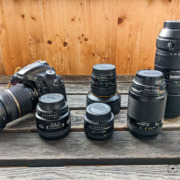
When beeing on easy to reach locations photographers usually just bring everything they think they could need – maybe. When beeing in the mountains weight and room of your equipment is also an essential part in your trip planning. Think about what you really need and what it’s just useles extra weight. A camera body, a wide-zoom lens and a tele-lens are usually all you need. A tripod is necessary if you plan to shoot at night. Not carrying it easily safes 2 kilogram – ands thats a lot considering that you might have to carry it on your back for hours and hours! Also the small things add up: A second battery in general is a good idea, but will you need that battery charger? Your collection of ND filters? Your cleaning kit?
To be ready when the magic happens can decide if your photos are average or exceptional. Place your camera in a good reachable place in the backpack always is a good idea.(*) Maybe you can carry it in your hand, maybe you have an extra small bag in front of you. There is not one system that works for everyone at the same time, just think about what’s good for your activity, time of the day, and your preferred method of carrying. Think before and plan ahead.
There is not a single specific gear tip? If i was to give you one tip that brings your photography to the next level, it’s this one: Bring a tele-lens!
*(At some later blog post we will talk about different methods of having your camera ready.)
Composition
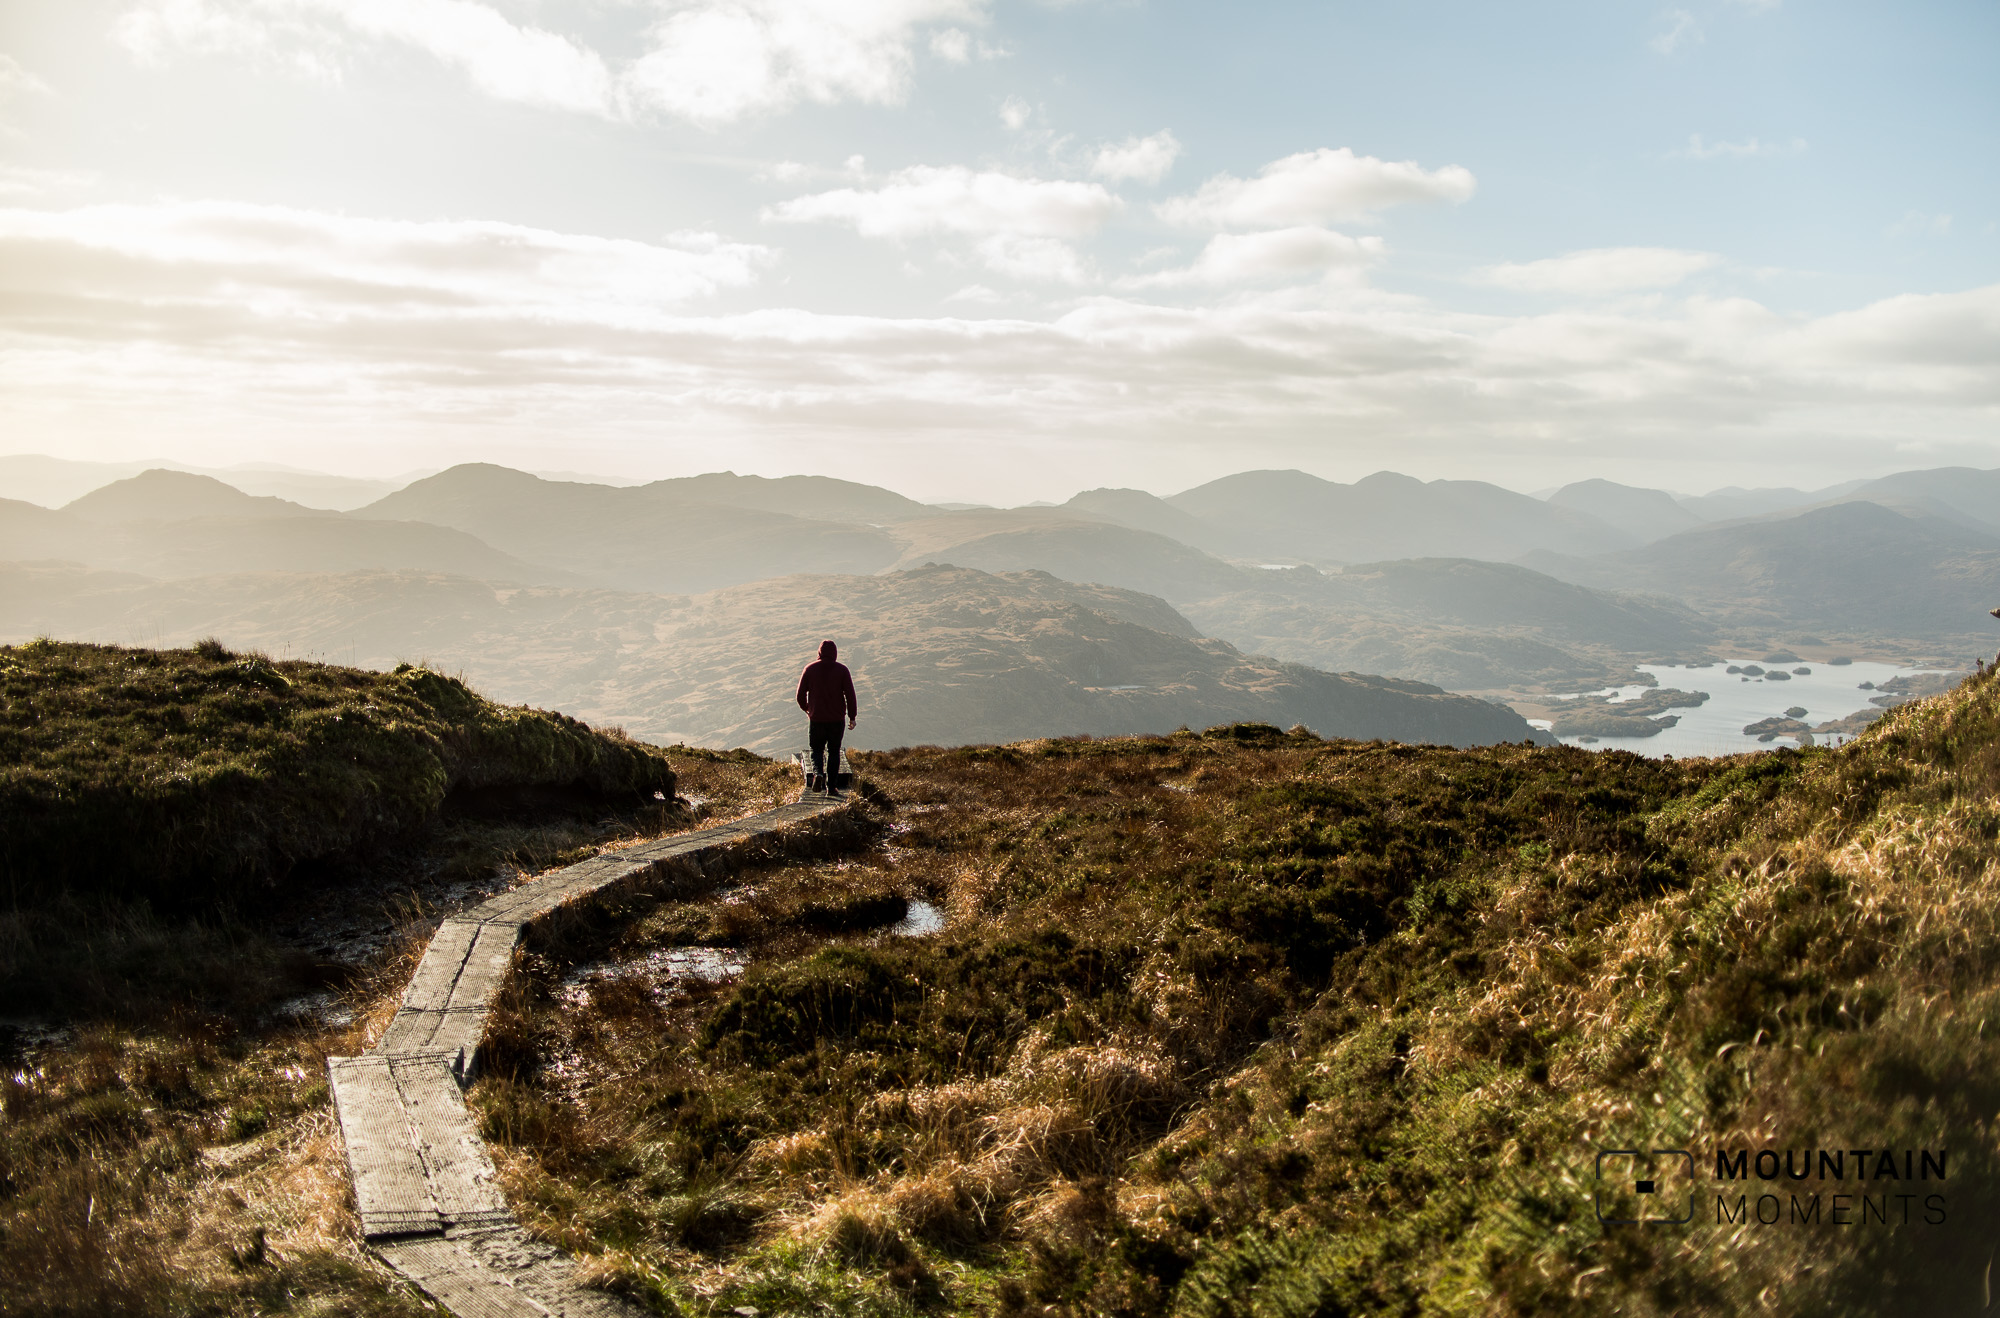
Using lines, mountain backdrop, a human as scence of scale and the golden ratio combined in this shot of a hiker in Ireland in autumn.
The photographer makes a good picture, not the camera he uses. All „rules“ and standard tipps for landscape and sports photography also apply for mountain photography. Avoid the most common mistakes and think about your composition and visual effect before pushing the button. In general a sense of scale (person, house, tree..), using natural lines and/or a foreground are good ideas for your mountain photography. Go with the standard rules in photography, but also, don’t hesitate to break them, if you think it’s time to do so.
Add a sense of scale
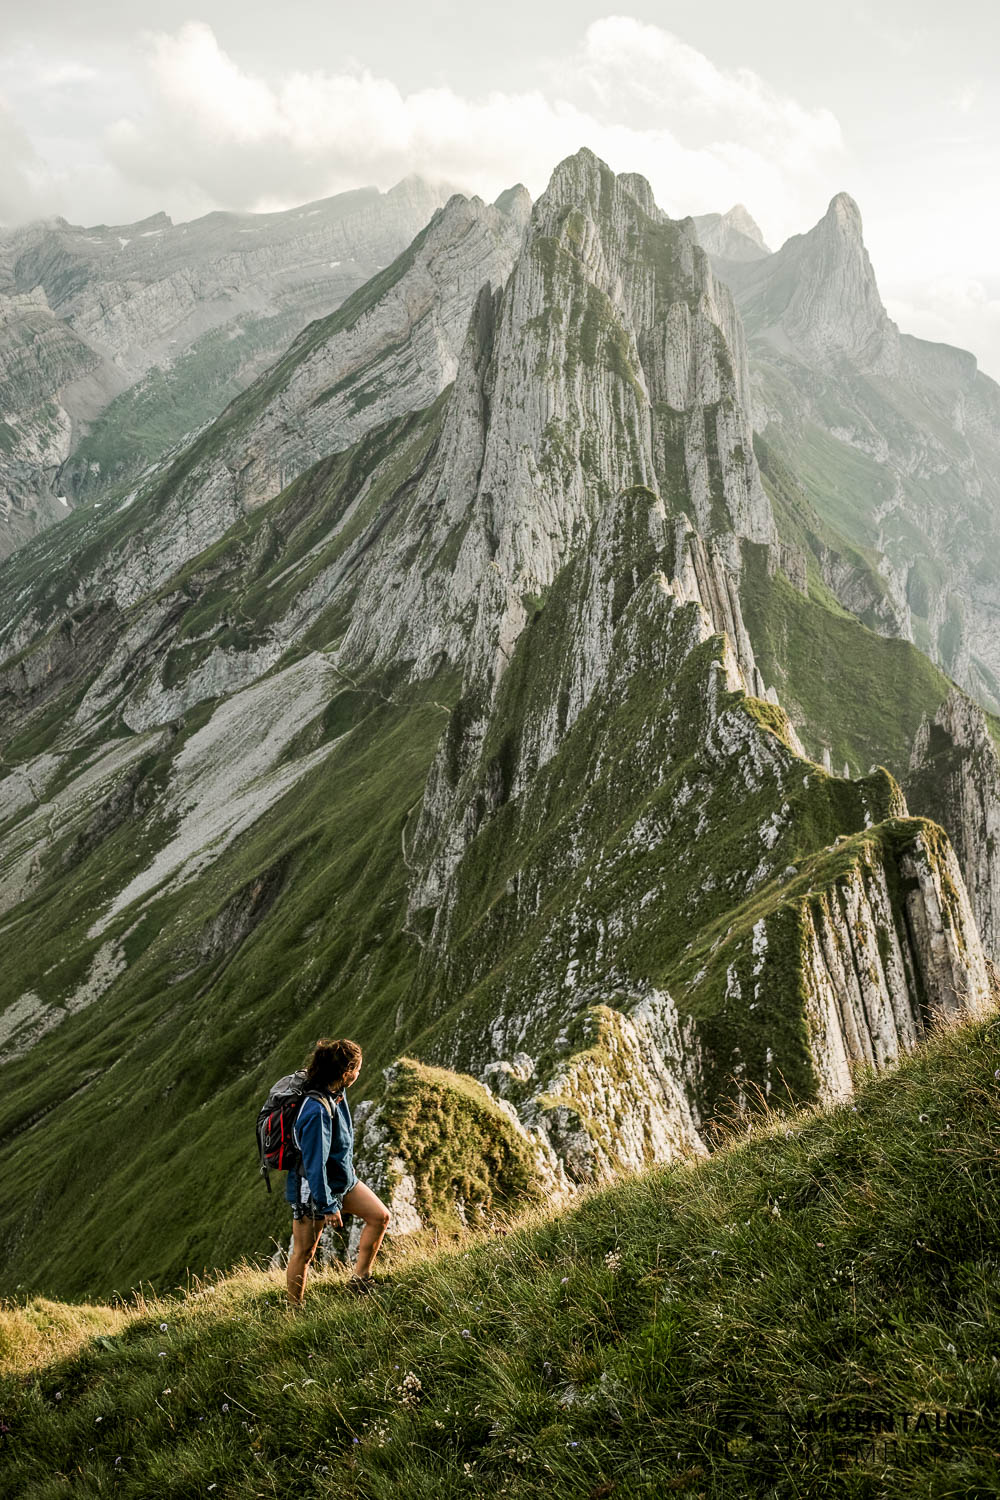
A person in a mountain scenery can help adding a scence of scale to your photography.
Mountain photography and outdoor photography is not only about the landscape. It’s also about the activity we do and especially the Alps are a cultural heritage. Therefor it might be a good idea to use those scaling factors – humans, houses, roads, trees… – in mountain photography more than in classical landscape photography.
By doing so you add visual information about how big those mountains are. You can make them appear small and far away, of close and massive. Using different distances together with the different effects of wide- and tele-lenses gives you plenty of opportunities.
Contrasts
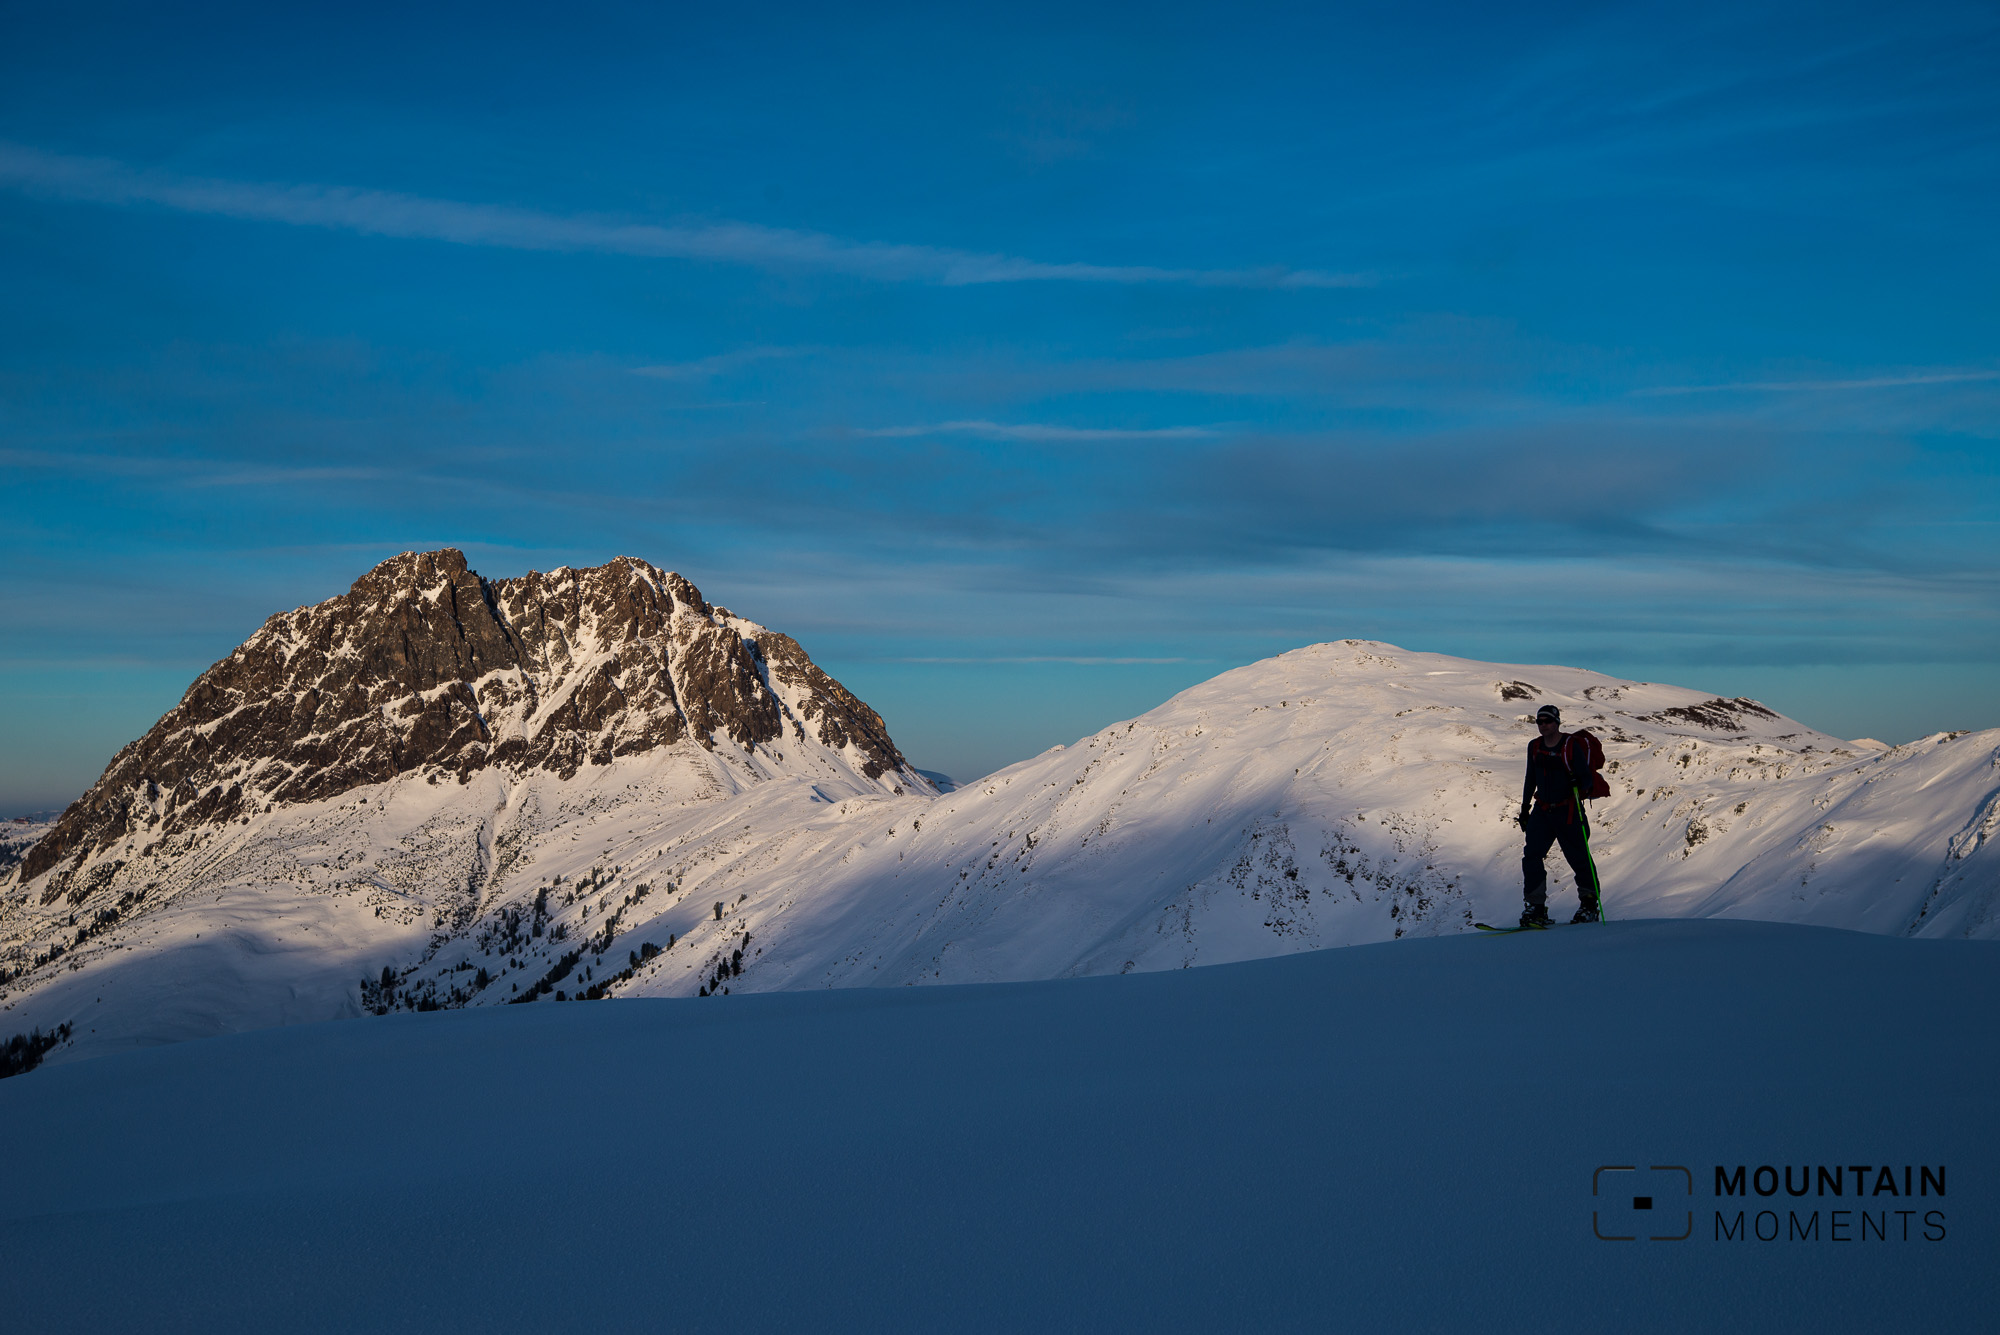
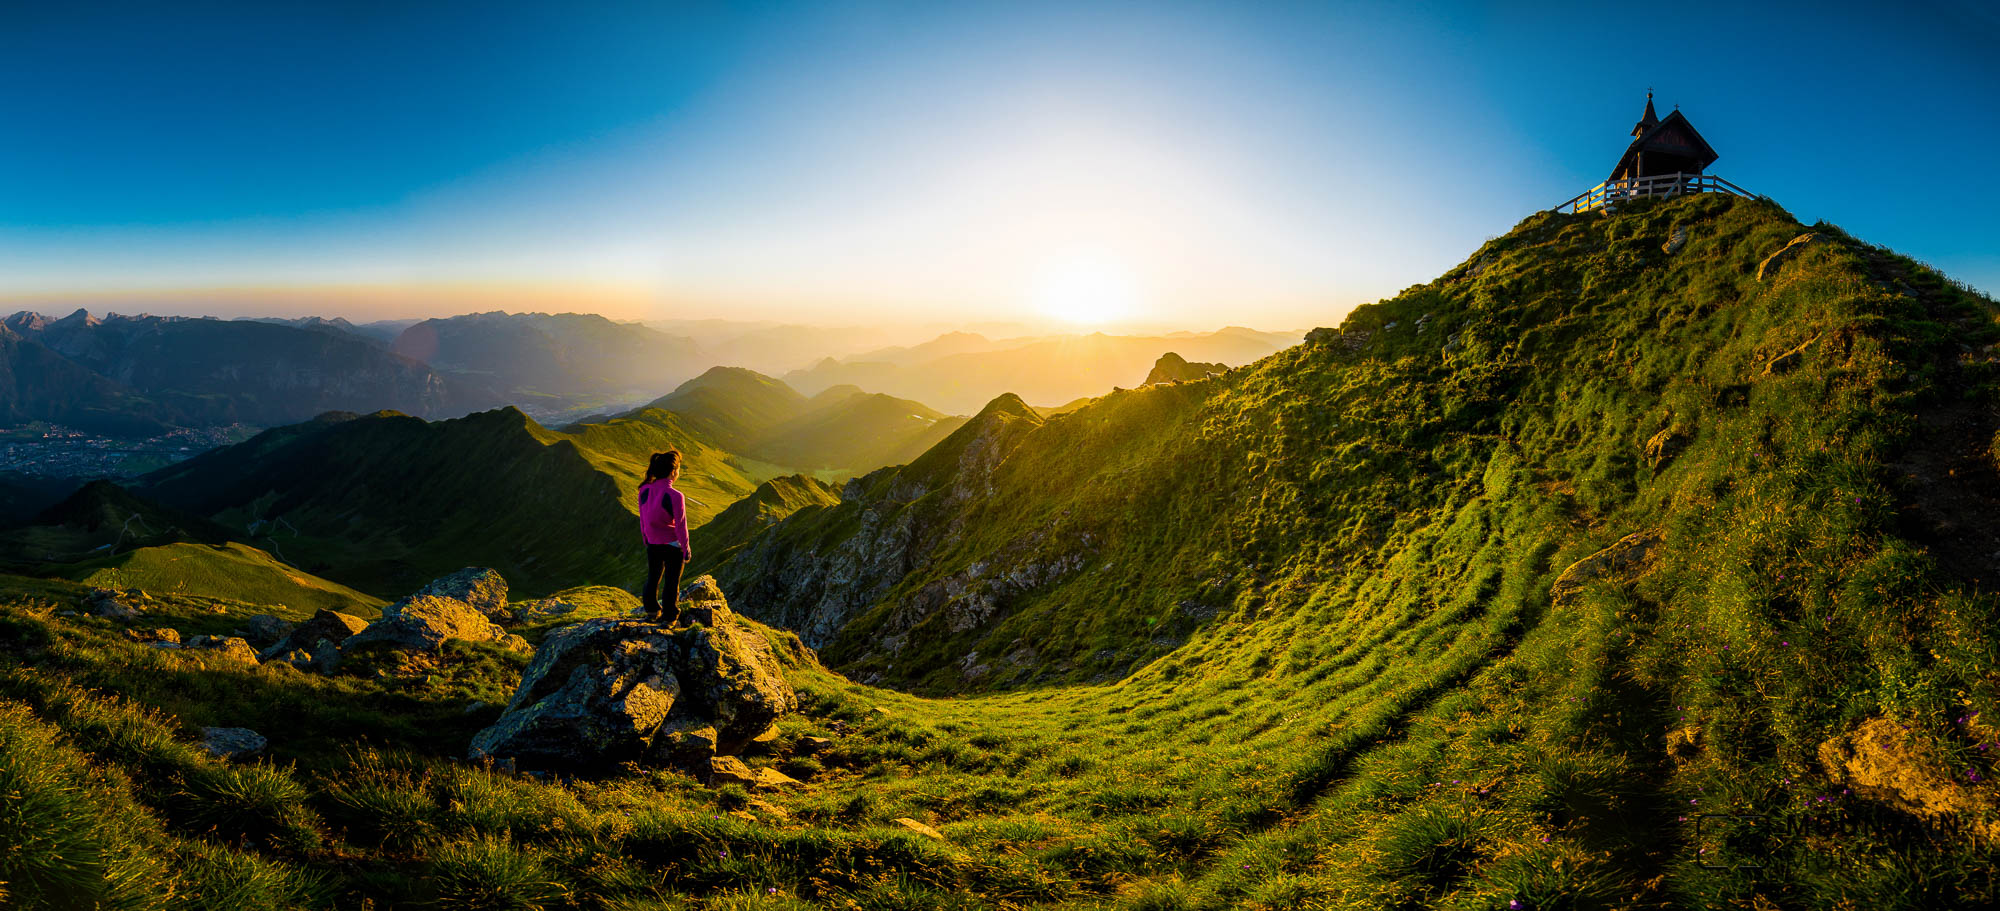
A human silhoutte in front of a mountain scene with pleasing light. Working with high contrast lighting is challenging, but knowing how to adapt your photography the results can be eyeopening.
Mountains are a perfect topic to show contrasts: Big and massive mountains and small people, snowy peaks and colourful plants, bright light and dark showdows, harsh rocks and soft waters. One thing people tend to forget when they are in these surroundings is the fact that camera sensors don’t work like the human eye. The light contrast on the camera sensor is limited and fixed. The human eye adapts really fast, a picture does not. A bright sunny sky and the near by forest in the shadow of a mountain peak might be appealing for your eye, but when captuing this as an image either the sky is burned and plain white, or the shadows are plain black. Think about this before you capture the epic landscape and maybe consider a test-shot. You will see in your histogram, how things look inside your camera. There are ways to overcome these problems (e.g. HDR) and it can be interesting to around with those „issues“. Using the shadows wisely and forming an intersting silhoutte is another option.
6 Mountain Photography Powerful Tips
I hope these six mountain photography powerful tips are giving an idea of whats important in mountain photography. As it is a complex topic, a single blog post likes this only can give you an idea about the most important factors. As experience is key, how about joining one of workshops on our favourite photo locations in the Alps?



Trackbacks & Pingbacks
[…] Profis? Wer beschäftigt sich denn professionell damit, spektakuläre Spots und schöne Blicke zu finden? Na, Berg- und Landschaftsfotografen. Die können schließlich nicht immer dasselbe Matterhorn-Motiv bringen. Deshalb sind sie professionelle Schöne-Orte-Finder, ähnlich wie die „Location Scouts“ der Filmbranche. Hier ein paar Tipps der Bergfotografen von Mountainmoments: […]
[…] Einige Hinweise, wie gute Bergfotos gelingen. Dieser Artikel setzt die Grundlagen der Fotografie voraus und hilft dir gute, klassische […]
[…] sowie Blaue Stunde oder die Milchstrassenposition können heutzutage relativ leicht mit wenigen Websiten und Apps vorab geplant […]
Hinterlasse einen Kommentar
An der Diskussion beteiligen?Hinterlasse uns deinen Kommentar!